Production line measurement
There is increasing demand from customers to be able to measure accurately and reliably closer to the machines that make parts and not in a distant QA lab. This is particularly the case in industries where 100% inspection is the norm such as aerospace and medical but it is also becoming a requirement where high volumes of parts are being made and there is a need to feed critical dimensional information back up the line for process control.
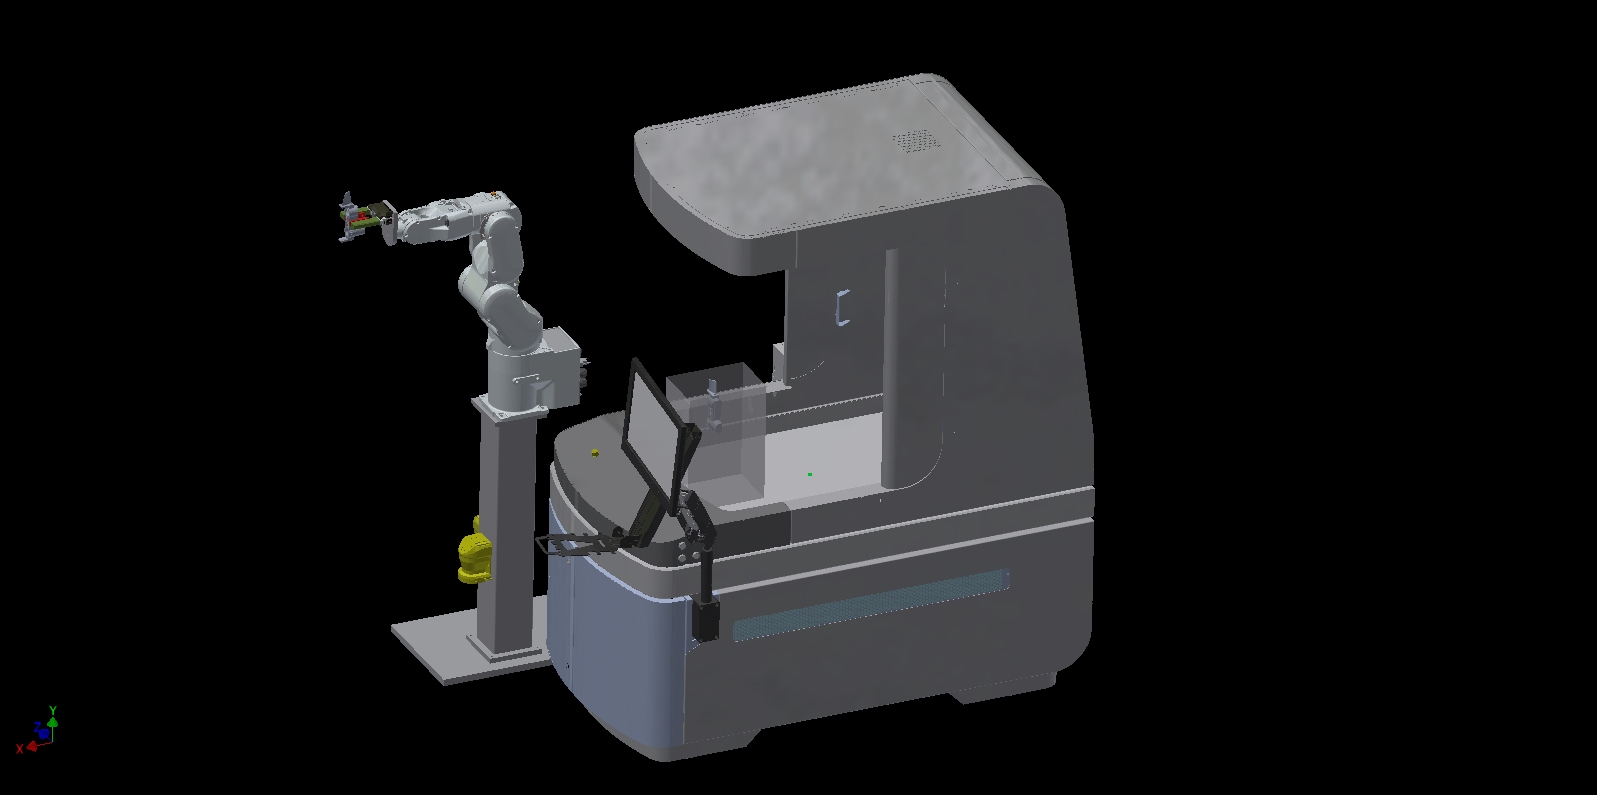
WENZEL has responded to this need with new Shop floor CMM machines that are designed to keep contamination away from their mechanisms and are shop floor hardened with temperature compensation and vibration damping. These take the conventional tactile probing and laser scanning probing from the lab closer to production but not to be overlooked is another member of the WENZEL family that has been a production measuring machine from its very inception – the CORE high speed scanning machine, now with additional sensors and functionality.
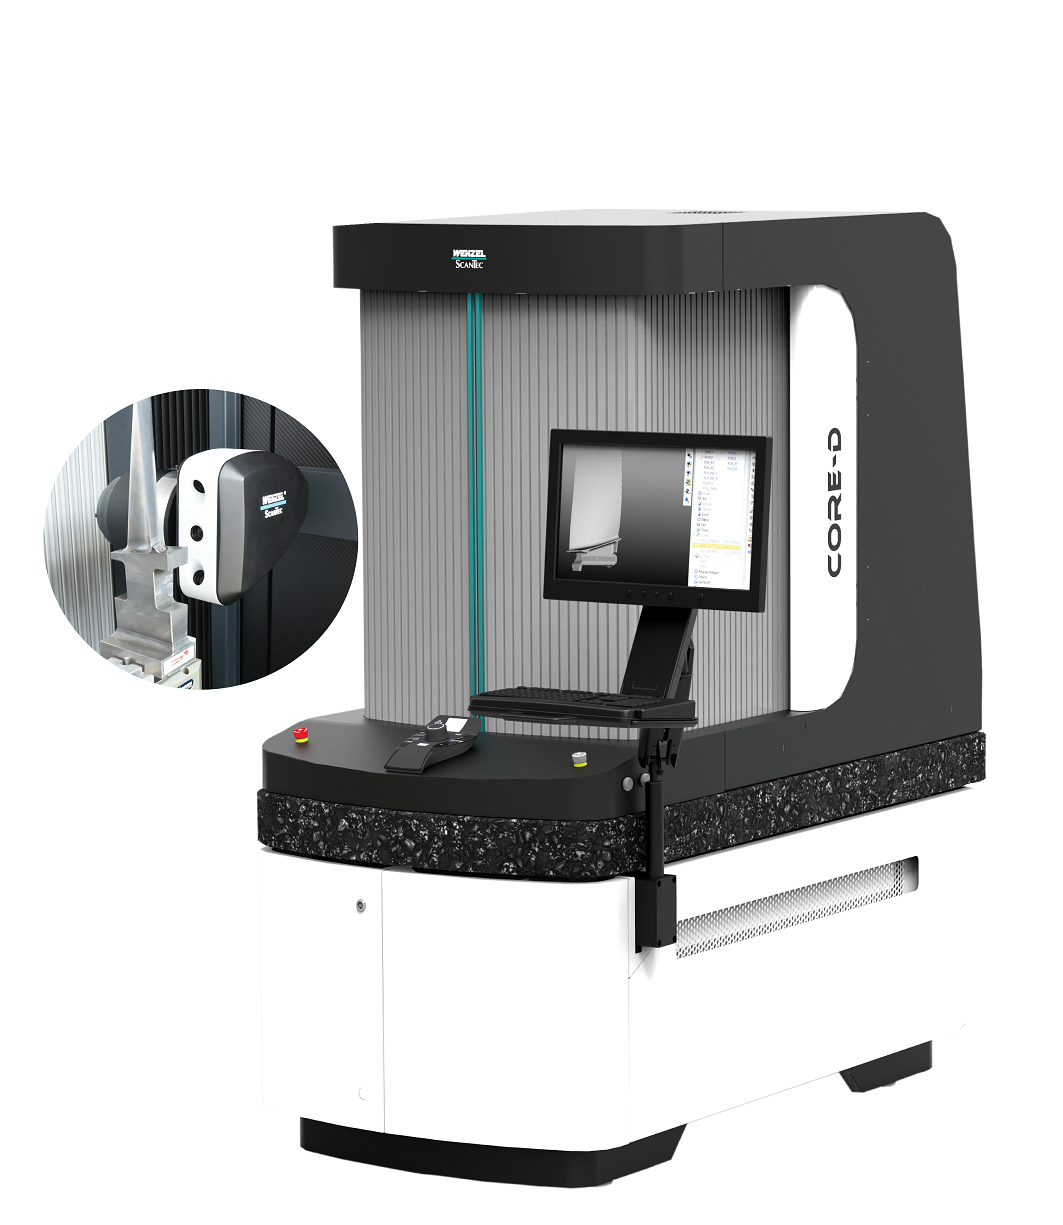
The WENZEL CORE Machine
The most impressive thing about the CORE technology since it was first introduced to scan turbine blades at Alsthom Turbines in 1994 has been its speed compared to a CMM and its ability to scan all types of surfaces like no other optical device.
These factors have made the CORE machine the only industry standard measuring machine recognized in the blade industry for measuring production blades.
It is popularly said that unlike other optical systems, the CORE can measure not only shiny surfaces but polished ones, not only translucent surfaces but transparent ones, that it can even measure glass and the thickness of fingerprints on the glass if needed!
That ability, along with its small footprint and up to 6 axes of movement make it the best, and in some cases, the only answer.
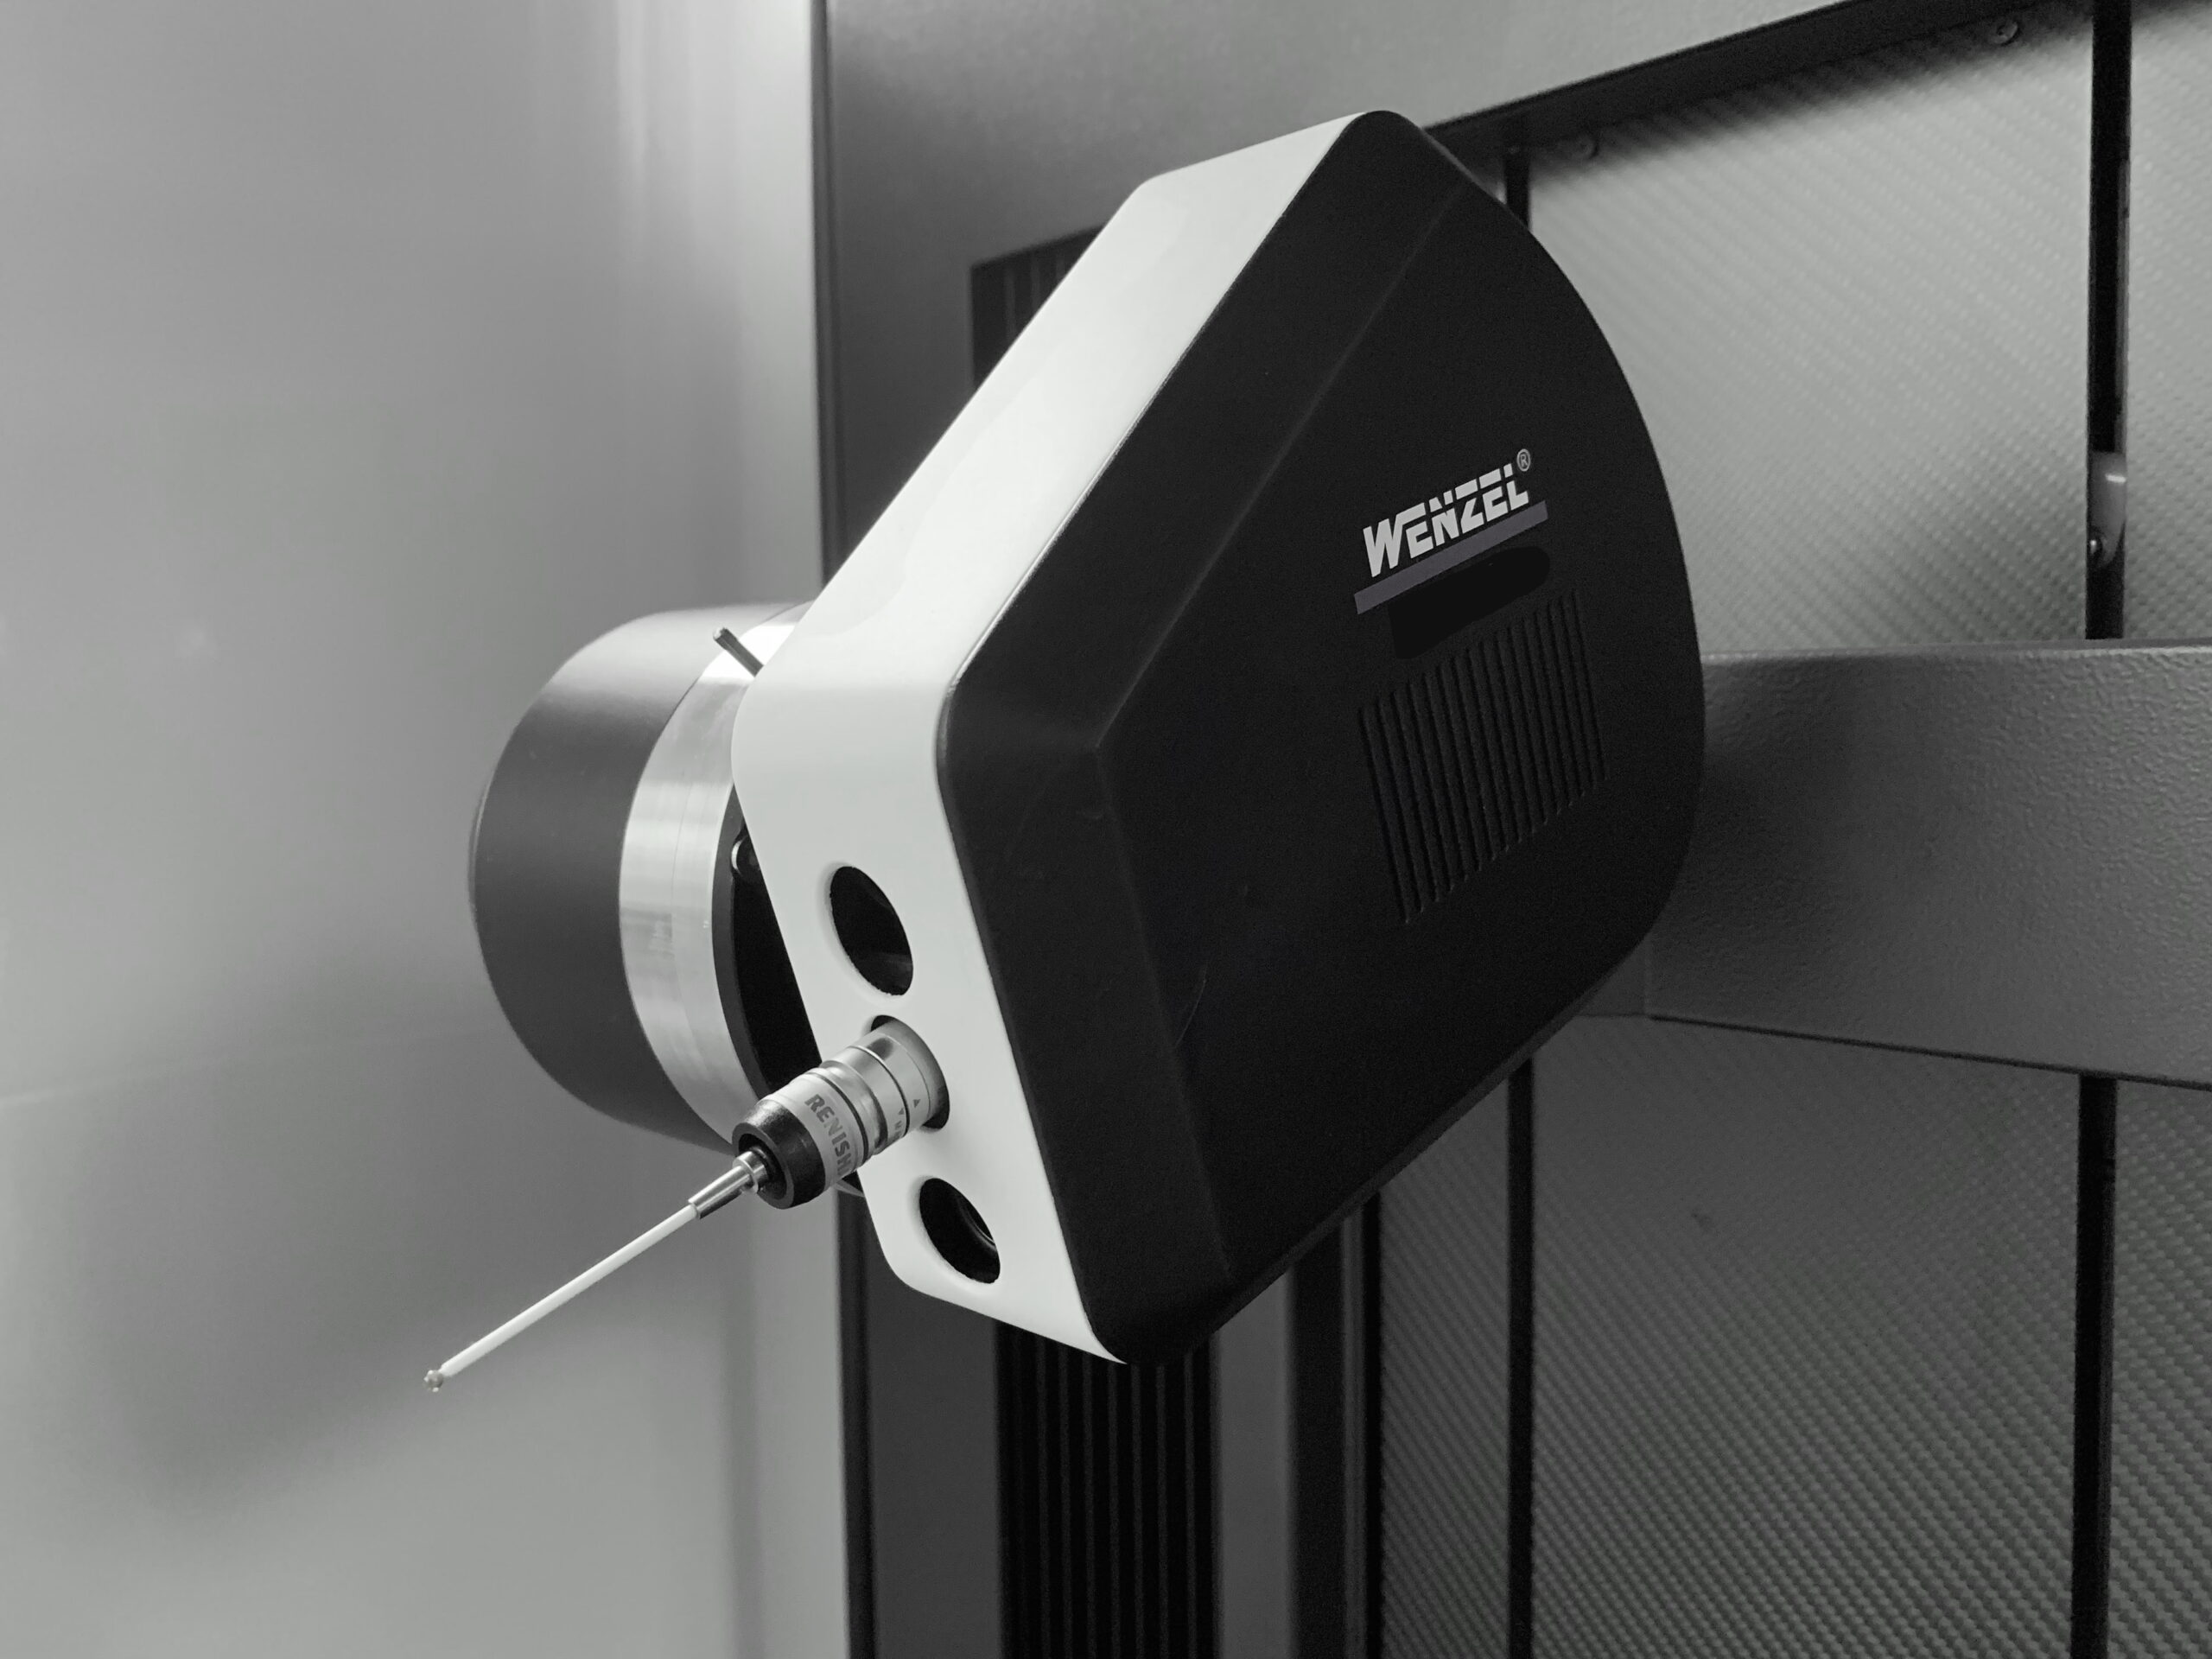
New Hybrid Sensor
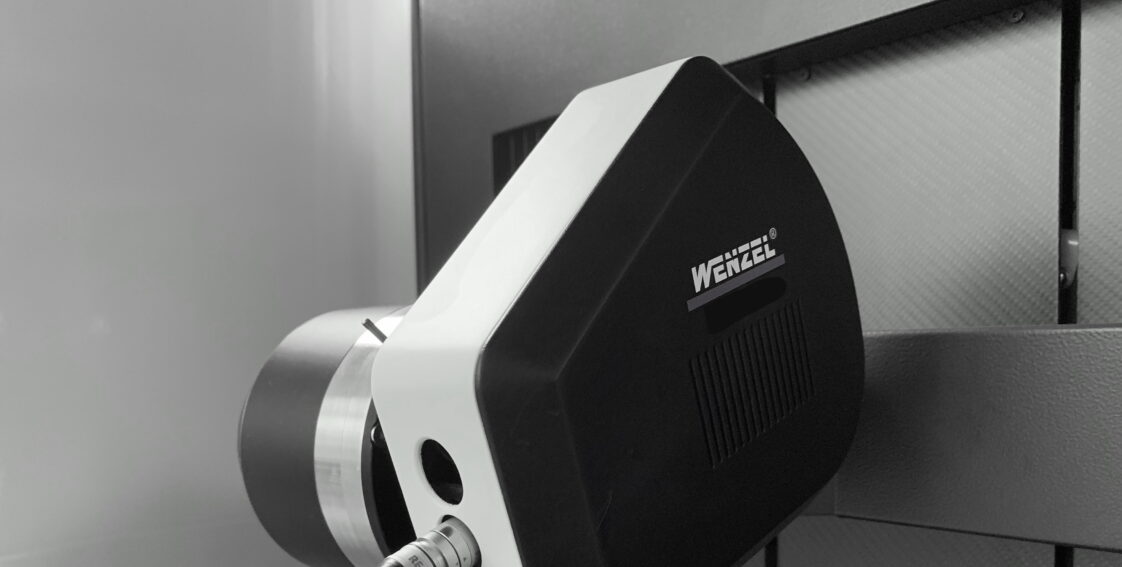
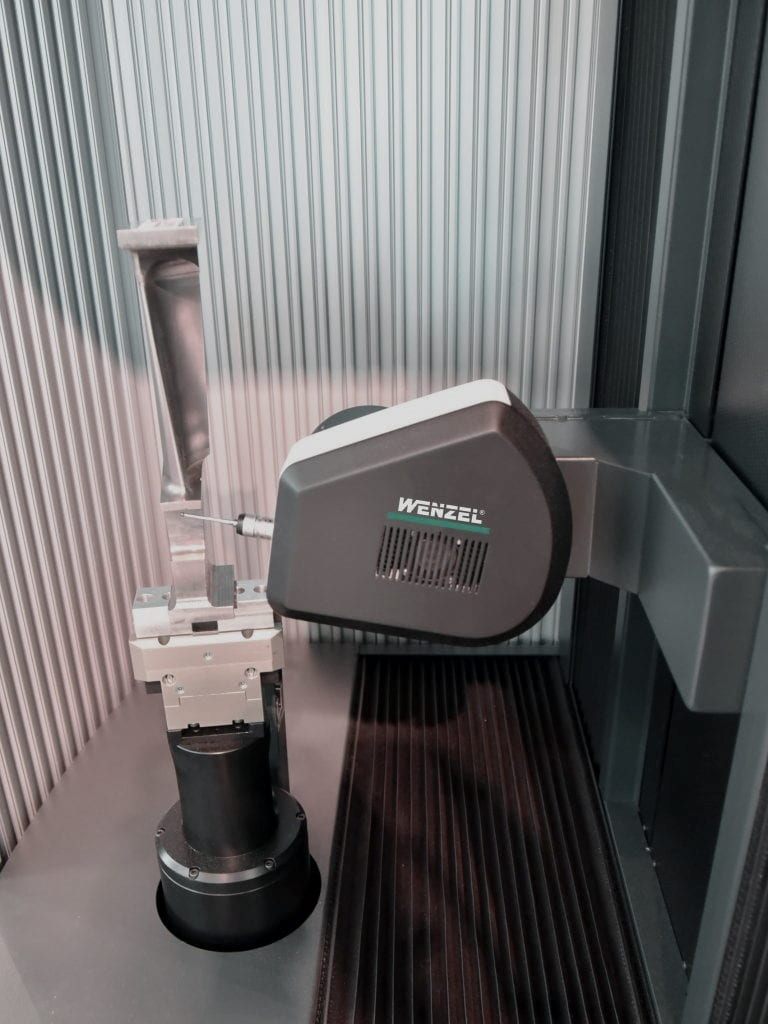
Up until recently however the CORE has had one “Achilles Heel”. As with all optical system that use triangulation as part of their measurement calculation, the CORE has, up until now not been able to see down holes to a depth of more than twice their diameter. The wait for that functionality is now over with the introduction of the WM|Hybrid sensor that allows the CORE to use its optical point sensor for the majority of its tasks but then, by using an automatic probe changer, pick up a conventional tactile probe to measure the holes.
The CORE now offers not only a short measurement cycle time, it also offers the possibility of doing the job of multiple different measurement technologies in a single measurement on a small footprint in a shop-floor hardened small footprint machine in a single clamping.
