Is the most accurate CMM the CMM for your part and process?
There are CMM Manufacturers that would have you think that the most accurate CMM is the CMM for you! However, the truth is, what you really need is the best tool for the job that meets your specific tolerance requirement. This does not necessarily mean you need the most accurate CMM overall. When the machine meets your tolerance requirements, that is the most accurate CMM for your part and process.
Let’s talk about some examples of components, what they may require and what the right tool could be for your CMM requirements.
When the machine meets your tolerance requirements, that is the most accurate CMM for your part and process.
What components do you want to measure and what accuracy is needed?
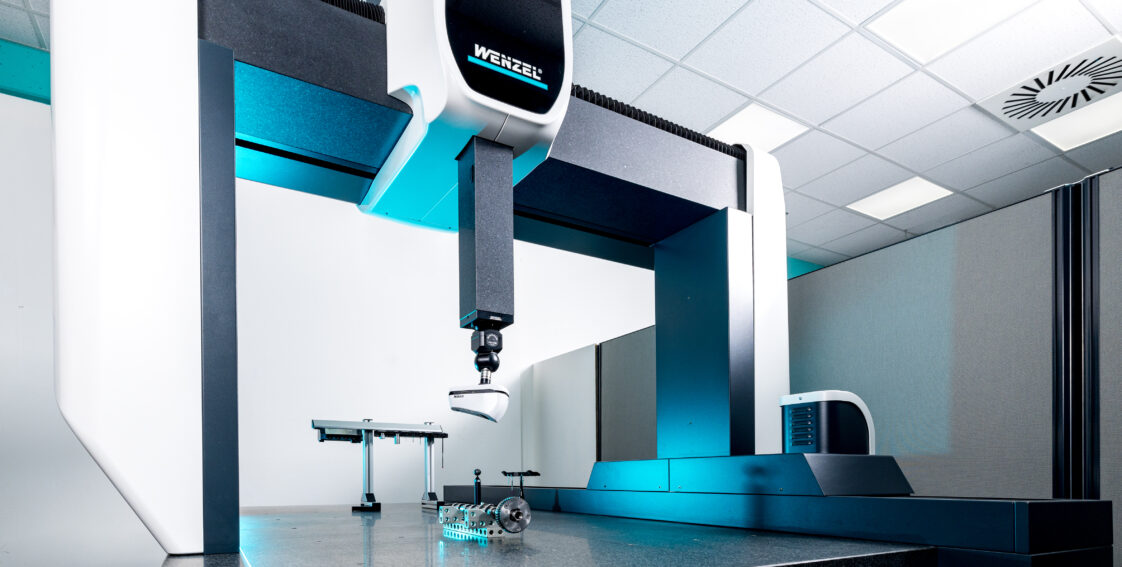
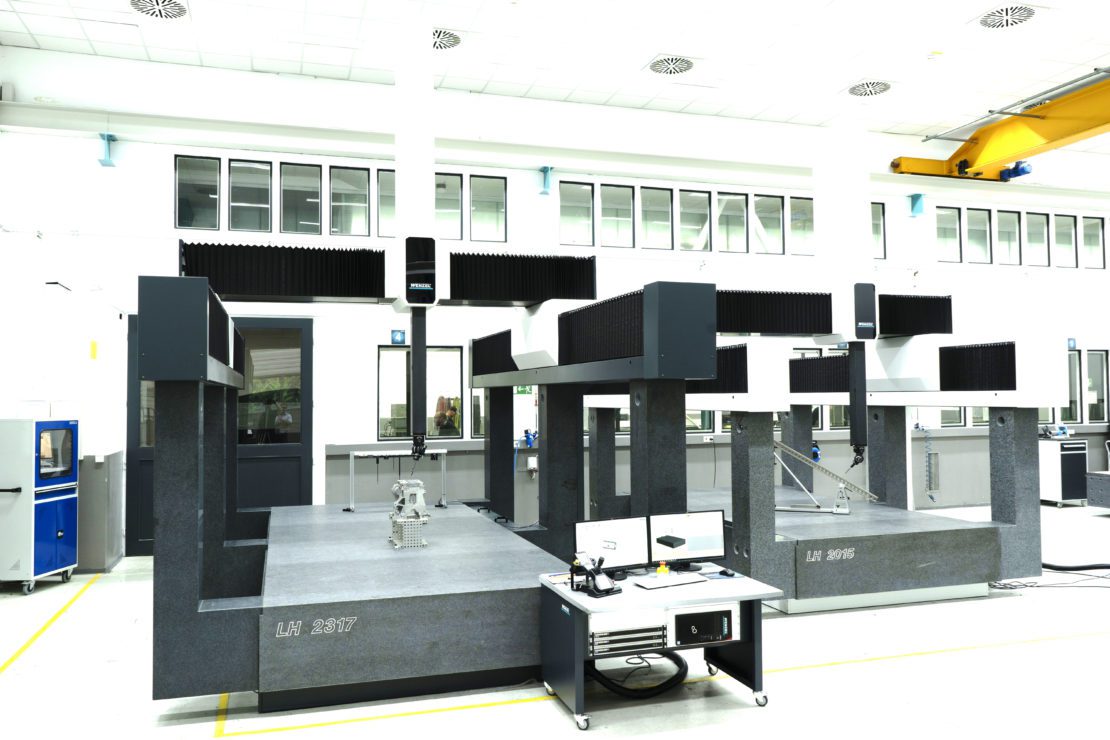
What kind of parts does your company manufacture? Do you make plastic parts, castings or machine components? Are you focused on prototyping that is high-mix/low-volume? DoD components or aerospace parts? These answers will determine whether a handheld scanner or a high accuracy bridge machine would be the right tool for you. The answers to these questions may lead to a different solution. The right solution which will always provide reliable results to help you control your process. This is why WENZEL manufactures a complete portfolio of metrology solutions to fit any of your needs.
Coordinate Measuring Machine – Bridge, Horizontal Arm, Gantry, shop floor, and Optical CMM in addition CT – Computer Tomography, portable arms as well as a handheld scanner. Not to mention our own CMM Software along with Optical Sensors to ensure a complete solution.
The options are there but what is the best choice for your company?
The best choice for your company depends on the product itself. For example, if you have flexible parts, you do not want a traditional Tactile sensor which would come in contact with your parts. Here the solution could be a 3D laser scanner on a traditional bridge CMM. The WENZEL WM l LS70 is fast, precise, and versatile. It will ensure zero contact to diminish the risk of distortion. The ergonomically designed laser scanner has low operating costs, fantastic flexibility and offers high productivity. It takes 250,000 pts/sec, has optimized line width, and Accuracy of 10 um.
Does that meet your requirement as the most accurate CMM for your application?
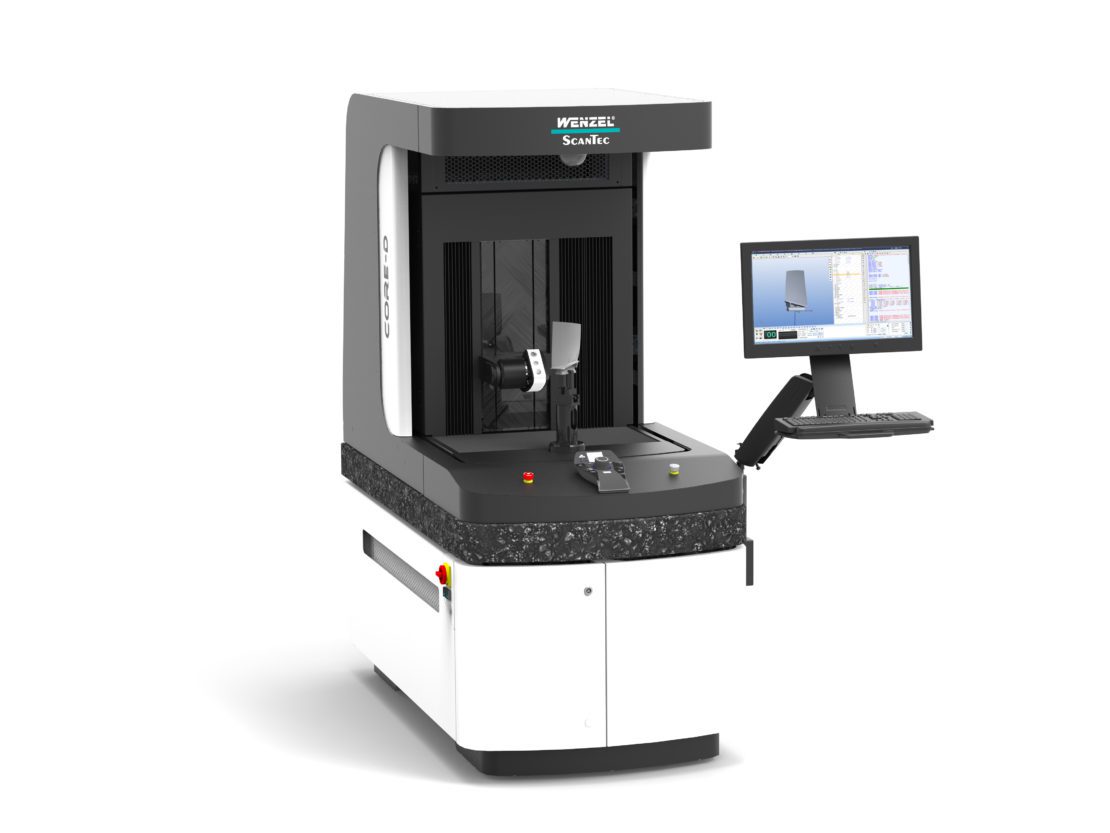
If the answer is no, then let’s consider another solution. If you are making high precision parts for the aerospace or medical implant industries the WENZEL CORE might be a great choice.
If you manufacture parts from titanium, aluminum, or other metals with polished, reflective surfaces, this Optical CMM machine would be an excellent choice. The WENZEL CORE offers measurement at the speed of light with a scanning speed of up to 400mm/s and provides time savings by a factor four compared to tactile coordinate measuring machines. This WENZEL system is:
- Fast and efficient
- Scanning at 400mm/s
- Offers a small footprint
- The latest technology 4 times faster than tactile
- Greater density of points resulting in higher accurate data
This solution offers faster throughput, reliable data, and excellent value that drives success with our customers.
Will the accuracy last?
Does this solution meet your needs for the future? WENZEL systems are designed and built to last decades. Many of our customers enjoy reliable results and accurate data for 20 to 30 years! This is thanks to the robust German design and construction of the system that is meticulously manufactured in our factories by teams with years of experience. This means your WENZEL CMM, with the proper maintenance and care will also be perfectly accurate 20 – 30 years from now. The parts you manufacture and must consider that far in the future may be unknown, but one thing is sure: no matter how big, small, or challenging your parts may be, our machines will deliver the reliability and precision you need for years to come.

The bottom line
The bottom line is, just because you could buy a high-accuracy CMM, doesn’t mean that it is the best all-around tool for your job.
When considering “the most accurate CMM” remember it is all about what is the most accurate CMM for your measuring requirements today and tomorrow. Not what CMM manufacturers are trying to sell you.
We will be at IMTS 2022 and look forward to seeing customers and old friends and also meeting new ones. Visit our booth 135712 in Chicago from September 12-17! To stay up to date with the latest in metrology and get to know our team and products, follow us on LinkedIn.


